This is an old revision of the document!
Table of Contents
Setting a Networking Lab with GNS3
GNS3 is a software tool for network emulation. With GNS3, you can emulate Cisco devices (routers, switches, firewalls, etc.) with Cisco IOS on your PC. GNS3 enables to test the configurations and functionalities of Cisco devices and deploy complex networking scenarios on a single PC.
During the course on Routing and Switching at ESIB, you will discover different functionalities of GNS3 and get familiar with its various features.
-. Software Download
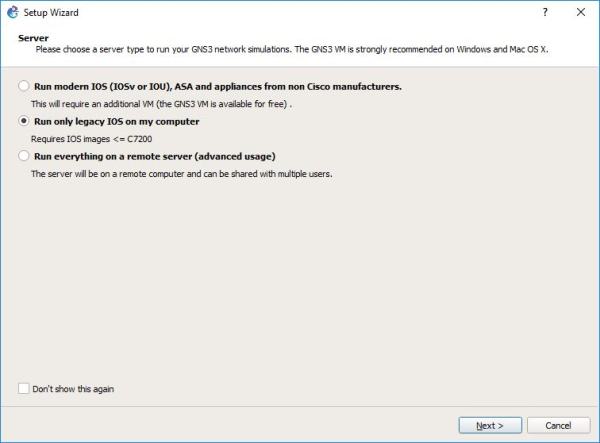
GNS3 is already downloaded on the Lab PCs. If you need to install it on your PC, you should create an account and download it from https://www.gns3.com/software/download. Make sure to choose the right version for your operating system. Moreover, during the first steps of the installation, choose to Run only legacy IOS as shown below.
Copy the file c3725-adventerprisek9-mz.124-15.T14.image from Moodle or from the folder commun to your local Downloads folder.
-. Basic Configuration
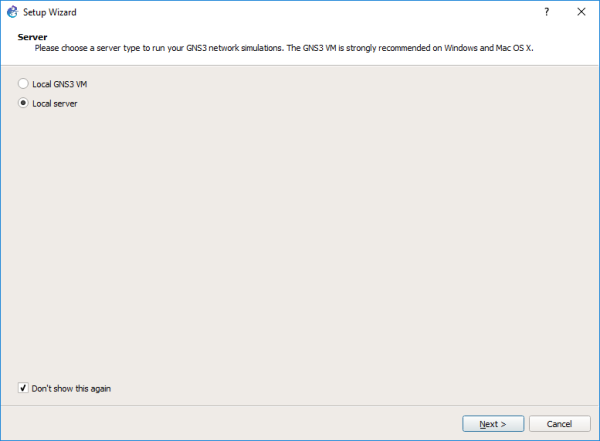
Start the GNS3 software by double-clicking on the Desktop icon. Select the Local server and Don't show this again button.
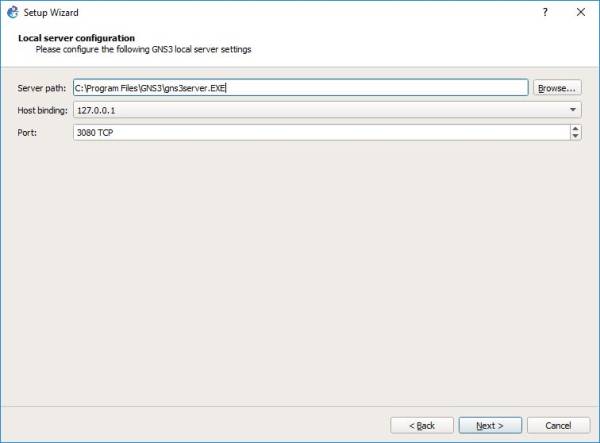
Configure the local server.
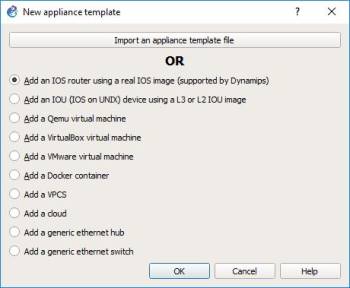
And click to add an IOS router as shown hereafter.
-. Adding a Cisco Switch
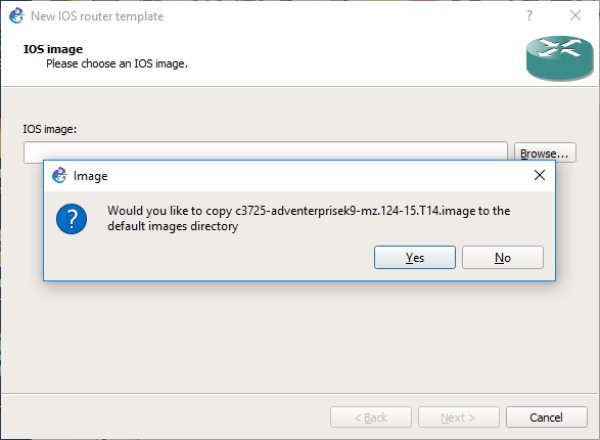
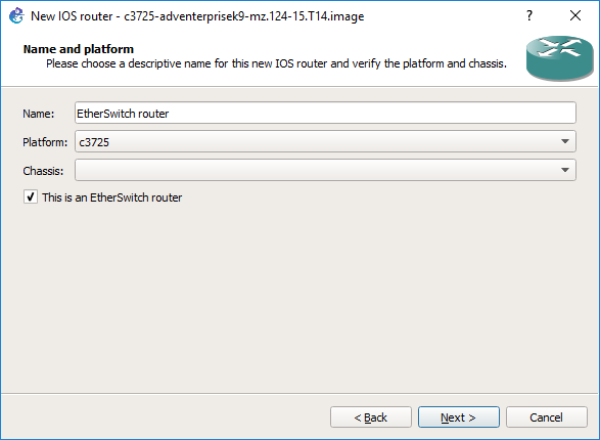
In order to add a Cisco switch to GNS3, browse and select the c3725-adventerprisek9-mz.124-15.T14.image in your Downloads folder. Click yes to copy it to the default images library.
Now check the button This is an EtherSwitch router.
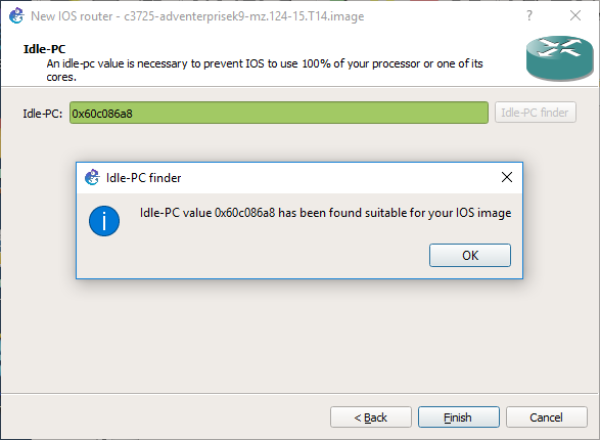
Click on Idle-PC finder and wait for the process to complete.
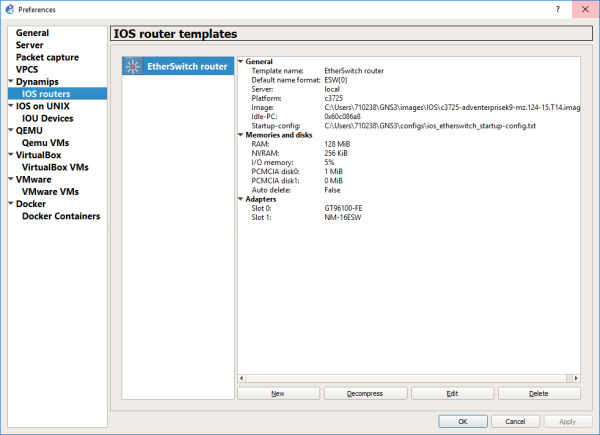
Apply to validate the new device parameters. Now you are set to start using Cisco switches with GNS3.
-. Adding a Cisco Router
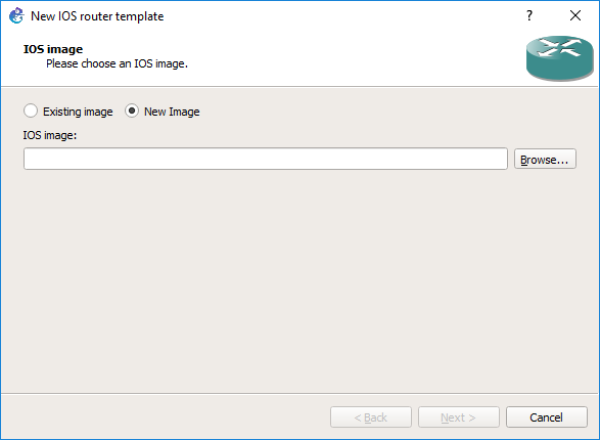
In order to add a Cisco router to GNS3, start by copying the file c7200-advipservicesk9-mz.150-1.M.bin from the folder commun to your local Downloads folder. Now, go to Preferences, then IOS Routers and click on New.
Click on New Image, then browse and select the c7200-advipservicesk9-mz.150-1.M.bin in your Downloads folder. Click yes to copy it to the default images library.
Make sure to add Fast Ethernet interfaces to your router as in the image below.
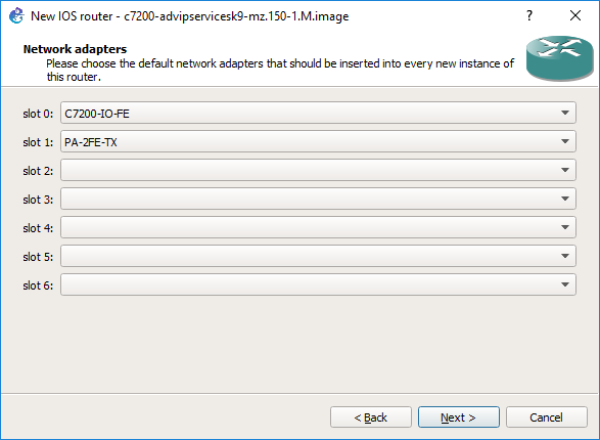
Click on Idle-PC finder and wait for the process to complete. Finally, apply to validate the new device parameters. Now you are set to start using Cisco routers with GNS3.
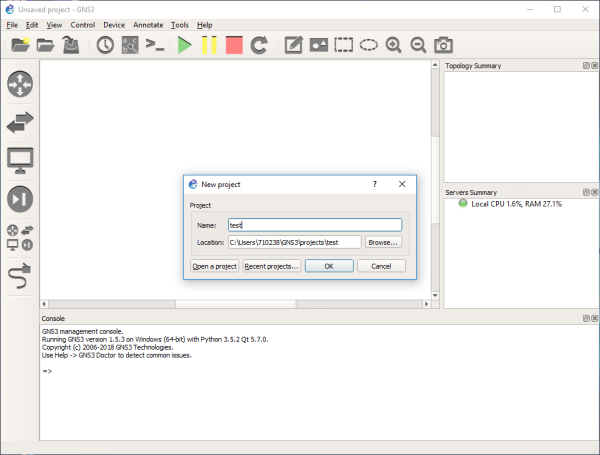
-. Starting a New Project
Choose a name for your project.
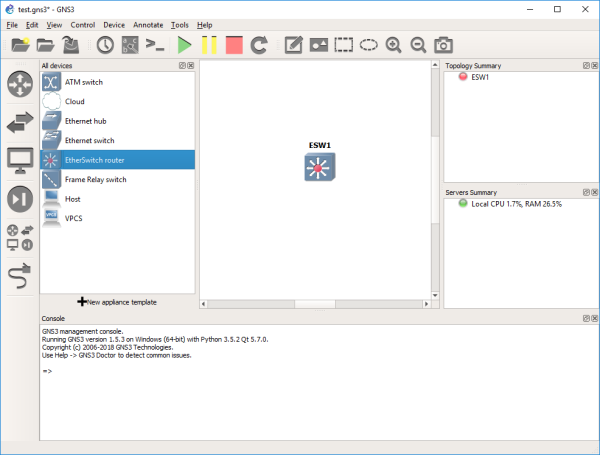
Select the devices from the left panel.
Click on the green button to start all devices. Then select Control and Console connect to all nodes.
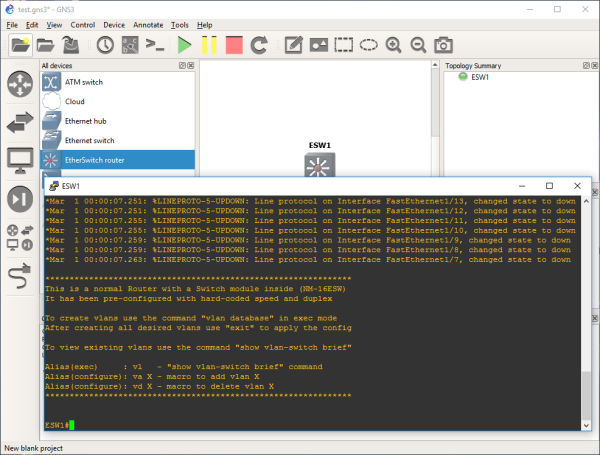
Now you have access to the CLI (Command Line Interface) of the Cisco devices in your network.
-. Saving your Work
During the Lab, you should frequently save the configuration of each of the Cisco devices. For this, you can use the following command to store the running-config into the startup-config (NVRAM).
#copy run start
Then, using the File drop-down menu, you can export your work into a portable project you can use on another machine.
-. Tips and Hints
- Click on the abc button to show the interface names on the network.
- Right click on any link to start capturing packets using Wireshark.